GitLab
XAuth 应用市场中包含数千个预集成好的应用,管理员可以将这些集成快速的添加到您的组织,并将它们分配给您的最终用户。
添加「GitLab」应用
登录XAuth管理后台,点击 【创建应用】,选择 【OIDC 】,应用类型选择“ Web应用”
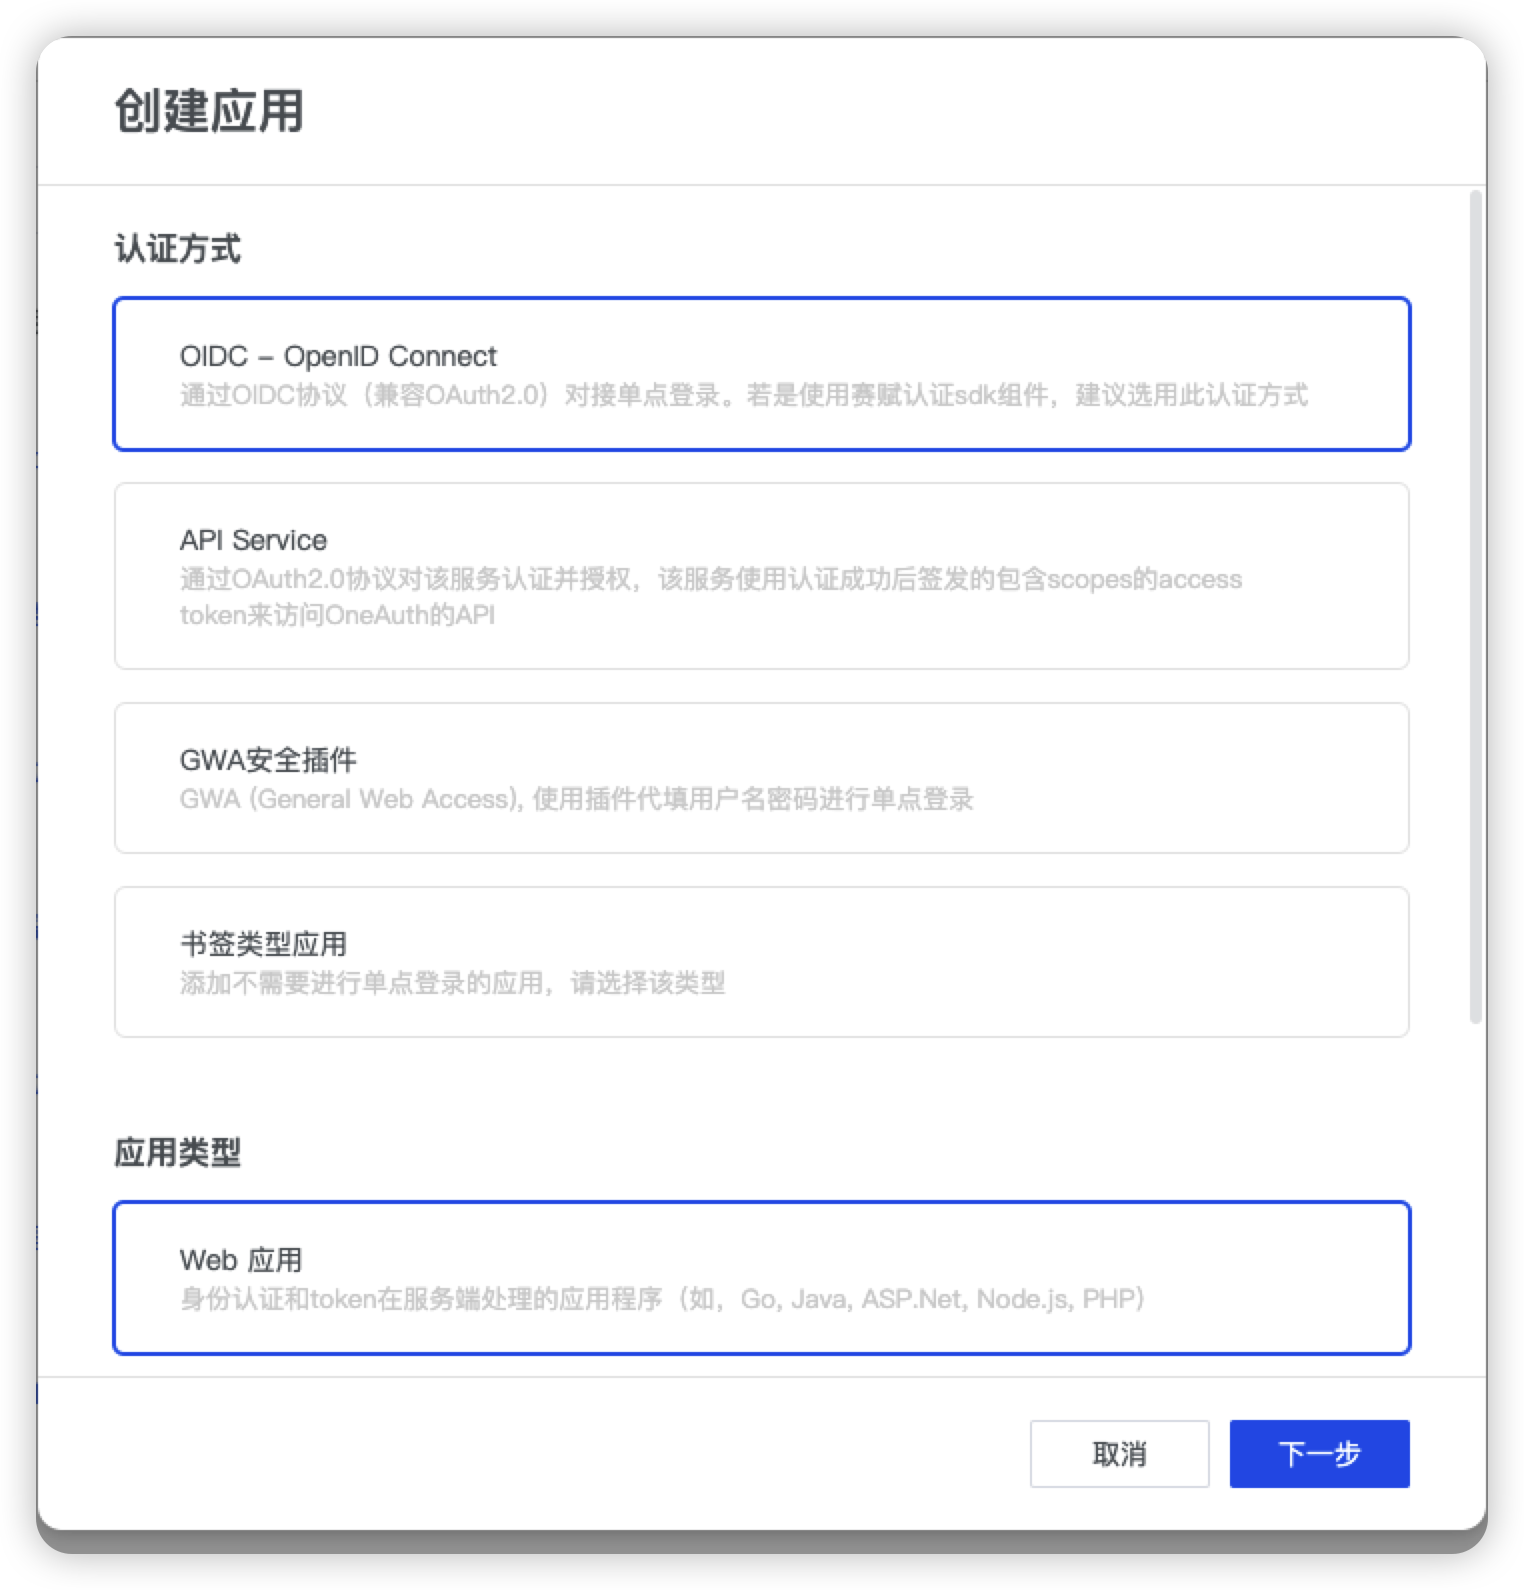
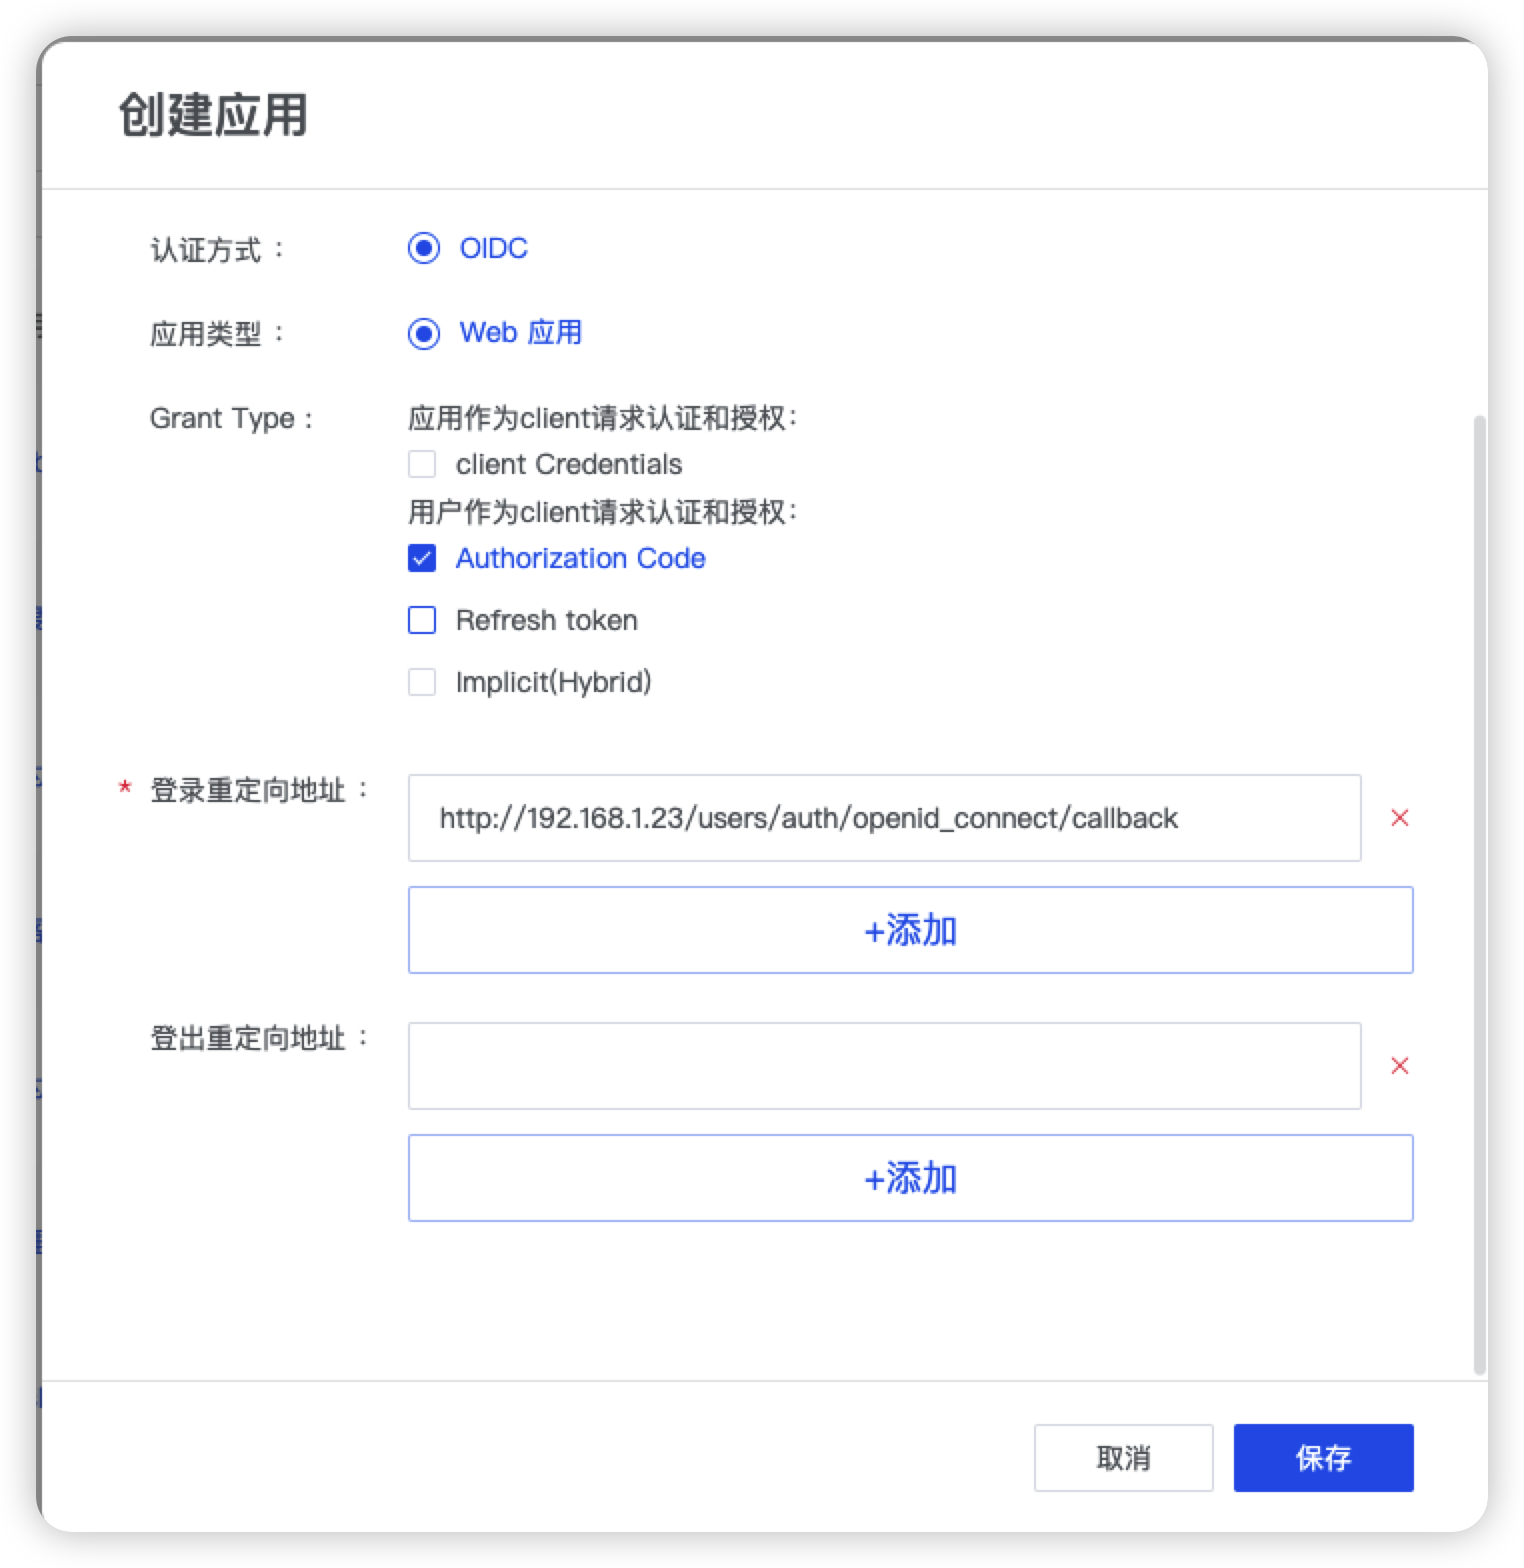
填写应用的必要信息,其中登录重定向地址为http://{gitlab URL}/users/auth/openid_connect/callback
如下图所示:
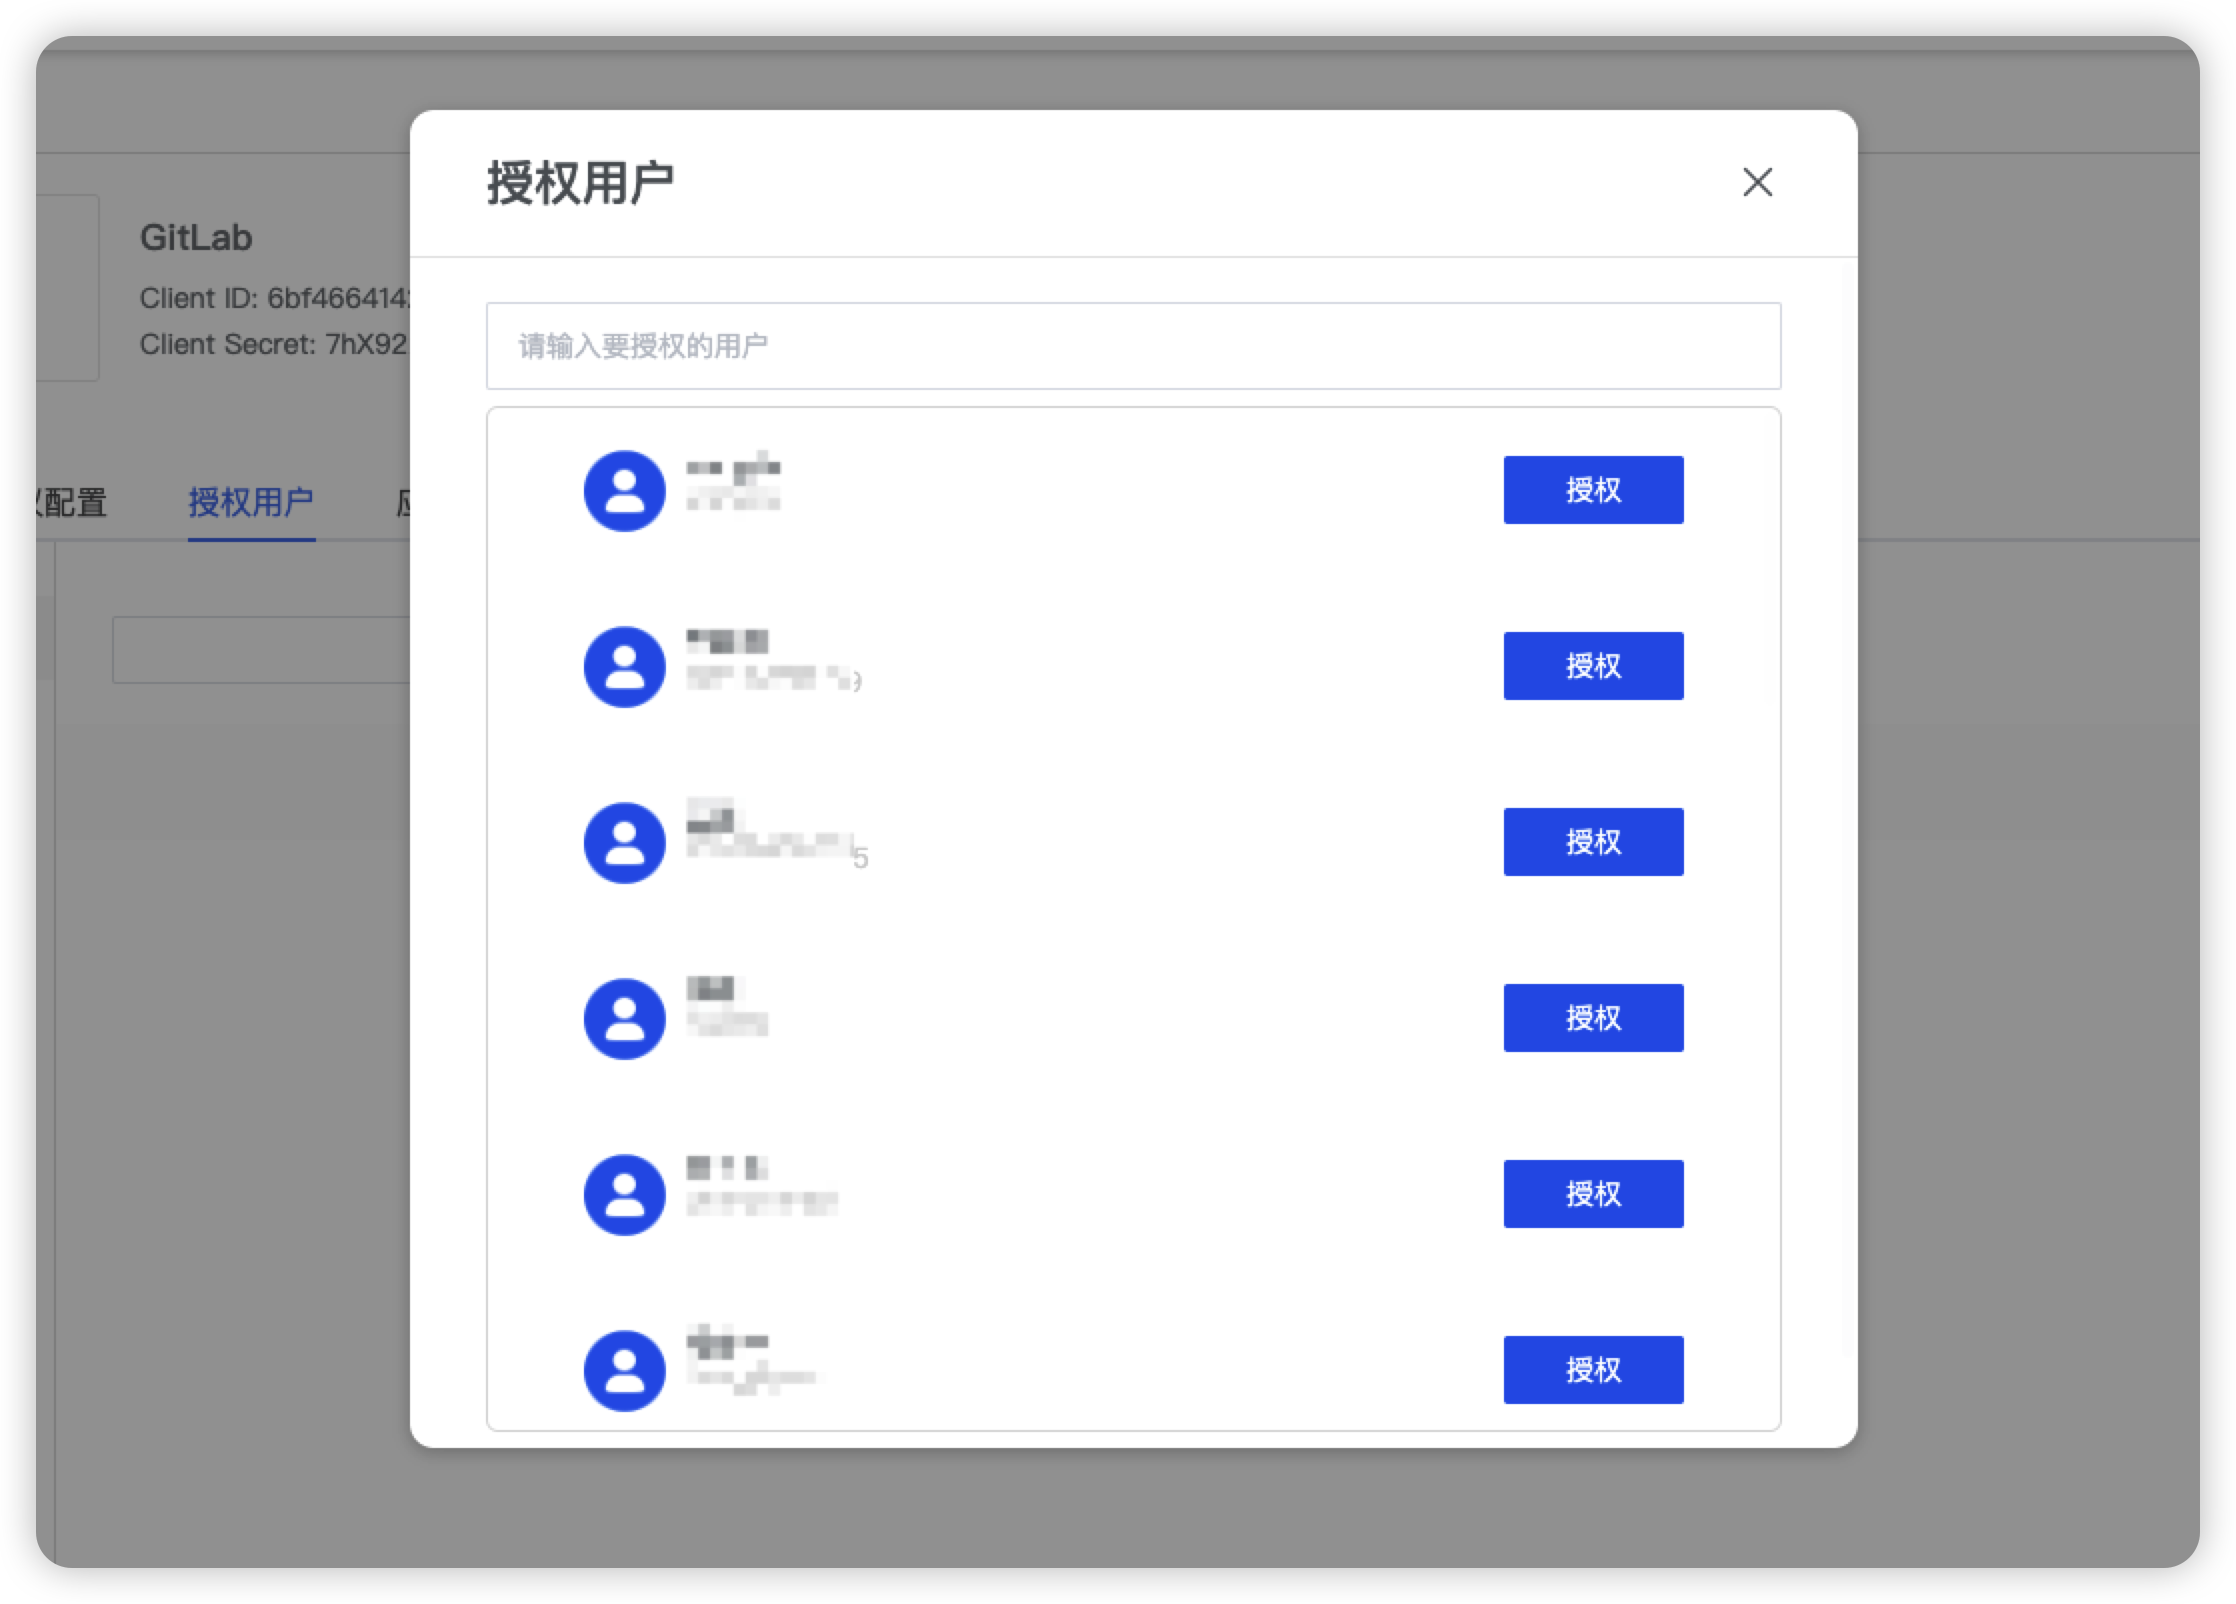
授予GitLab的用户访问权限
编辑 GitLab 配置文件
注:在示例中,GitLab 使用 docker 安装部署。
- 打开配置文件
vi /etc/gitlab/gitlab.rb
- 添加以下配置
gitlab_rails['omniauth_enabled'] = true;
gitlab_rails['omniauth_allow_single_sign_on'] = true;
gitlab_rails['omniauth_block_auto_created_users'] = false;
gitlab_rails['omniauth_auto_link_user'] = ['openid_connect']
# gitlab_rails['omniauth_auto_sign_in_with_provider'] = 'openid_connect';  # 本行被注释,若使用该配置项访问gitlab时将自动跳转到XAuth进行认证

gitlab_rails['omniauth_providers'] = [

  {

    name: "openid_connect",

    label: “XAuth login”,

    icon: "[https://docs.gitlab.com/assets/images/gitlab-logo.svg](https://docs.gitlab.com/assets/images/gitlab-logo.svg)",

    args: {

      name: "openid_connect",

      scope: ["openid","profile","email"],

      response_type: "code",

      issuer: "https://<your-Subdomain>.xauth.cloud/oauth/v1", # 填写在XAuth注册的租户域名

      discovery: true,

      client_auth_method: "query",

      uid_field: "sub",

      send_scope_to_token_endpoint: "false",

      client_options: {

        identifier: “<client_id>”, #client_id 从XAuth管理后台的应用详情页面获取

        secret: “<client_secret>”,  #client_secret 从XAuth管理后台的应用详情页面获取

        redirect_uri: "http://<Gitlab-URL>/users/auth/openid_connect/callback"

        }

      }

  }

  ]
- 重新加载配置文件
gitlab-ctl reconfigure
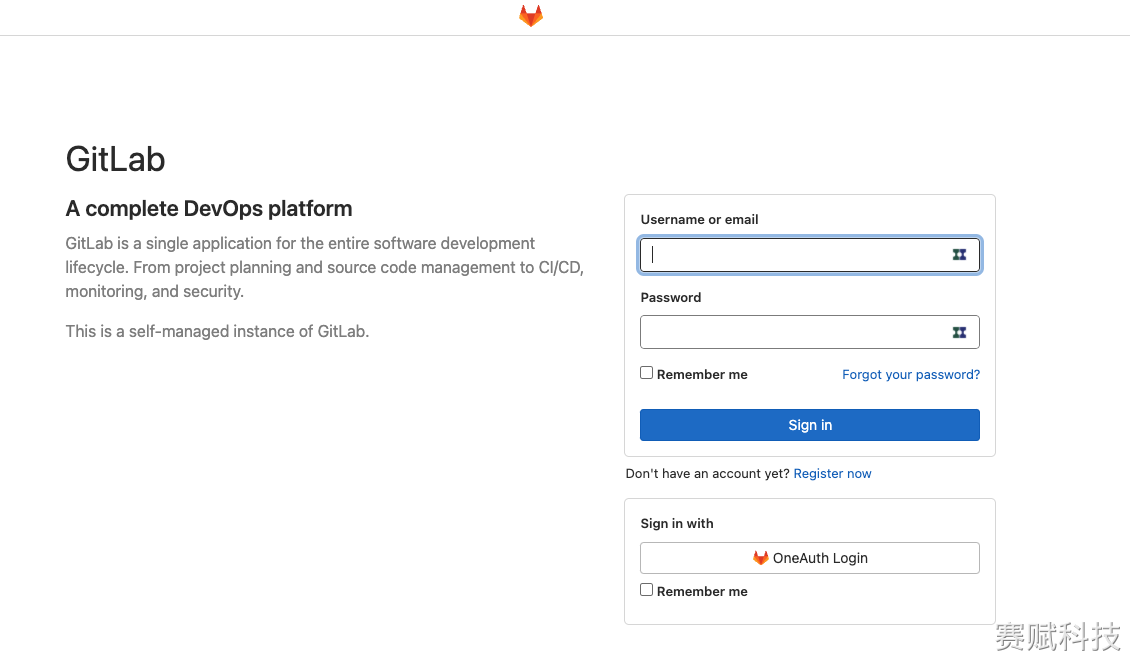
体验登录
完成以上配置后,访问Gitlab地址,在 GitLab 页面出现了 XAuth Login 的按钮
点击XAuth Login 的按钮,使用XAuth账号登录GitLab。
注意事项
- 账号的必要属性:
- 在GitLab的某些版本中,用户的 given_name 和 family_name 是必须的。因此在通过 XAuth 登录GitLab时需要确保用户在 XAuth 中也有该属性 (对应用XAuth 的系统属性“姓”、“名”)
