
配置Office365与XAuth
Office365的配置主要通过AzureAD来进行, 通过配置与AzureAD的联邦认证实现Office365的单点登录
Office365 可通过标准的SAML协议来进行对接,以下为配置过程
参考:https://learn.microsoft.com/zh-cn/azure/active-directory/hybrid/how-to-connect-fed-saml-idp
AzureAD配置自定义域名
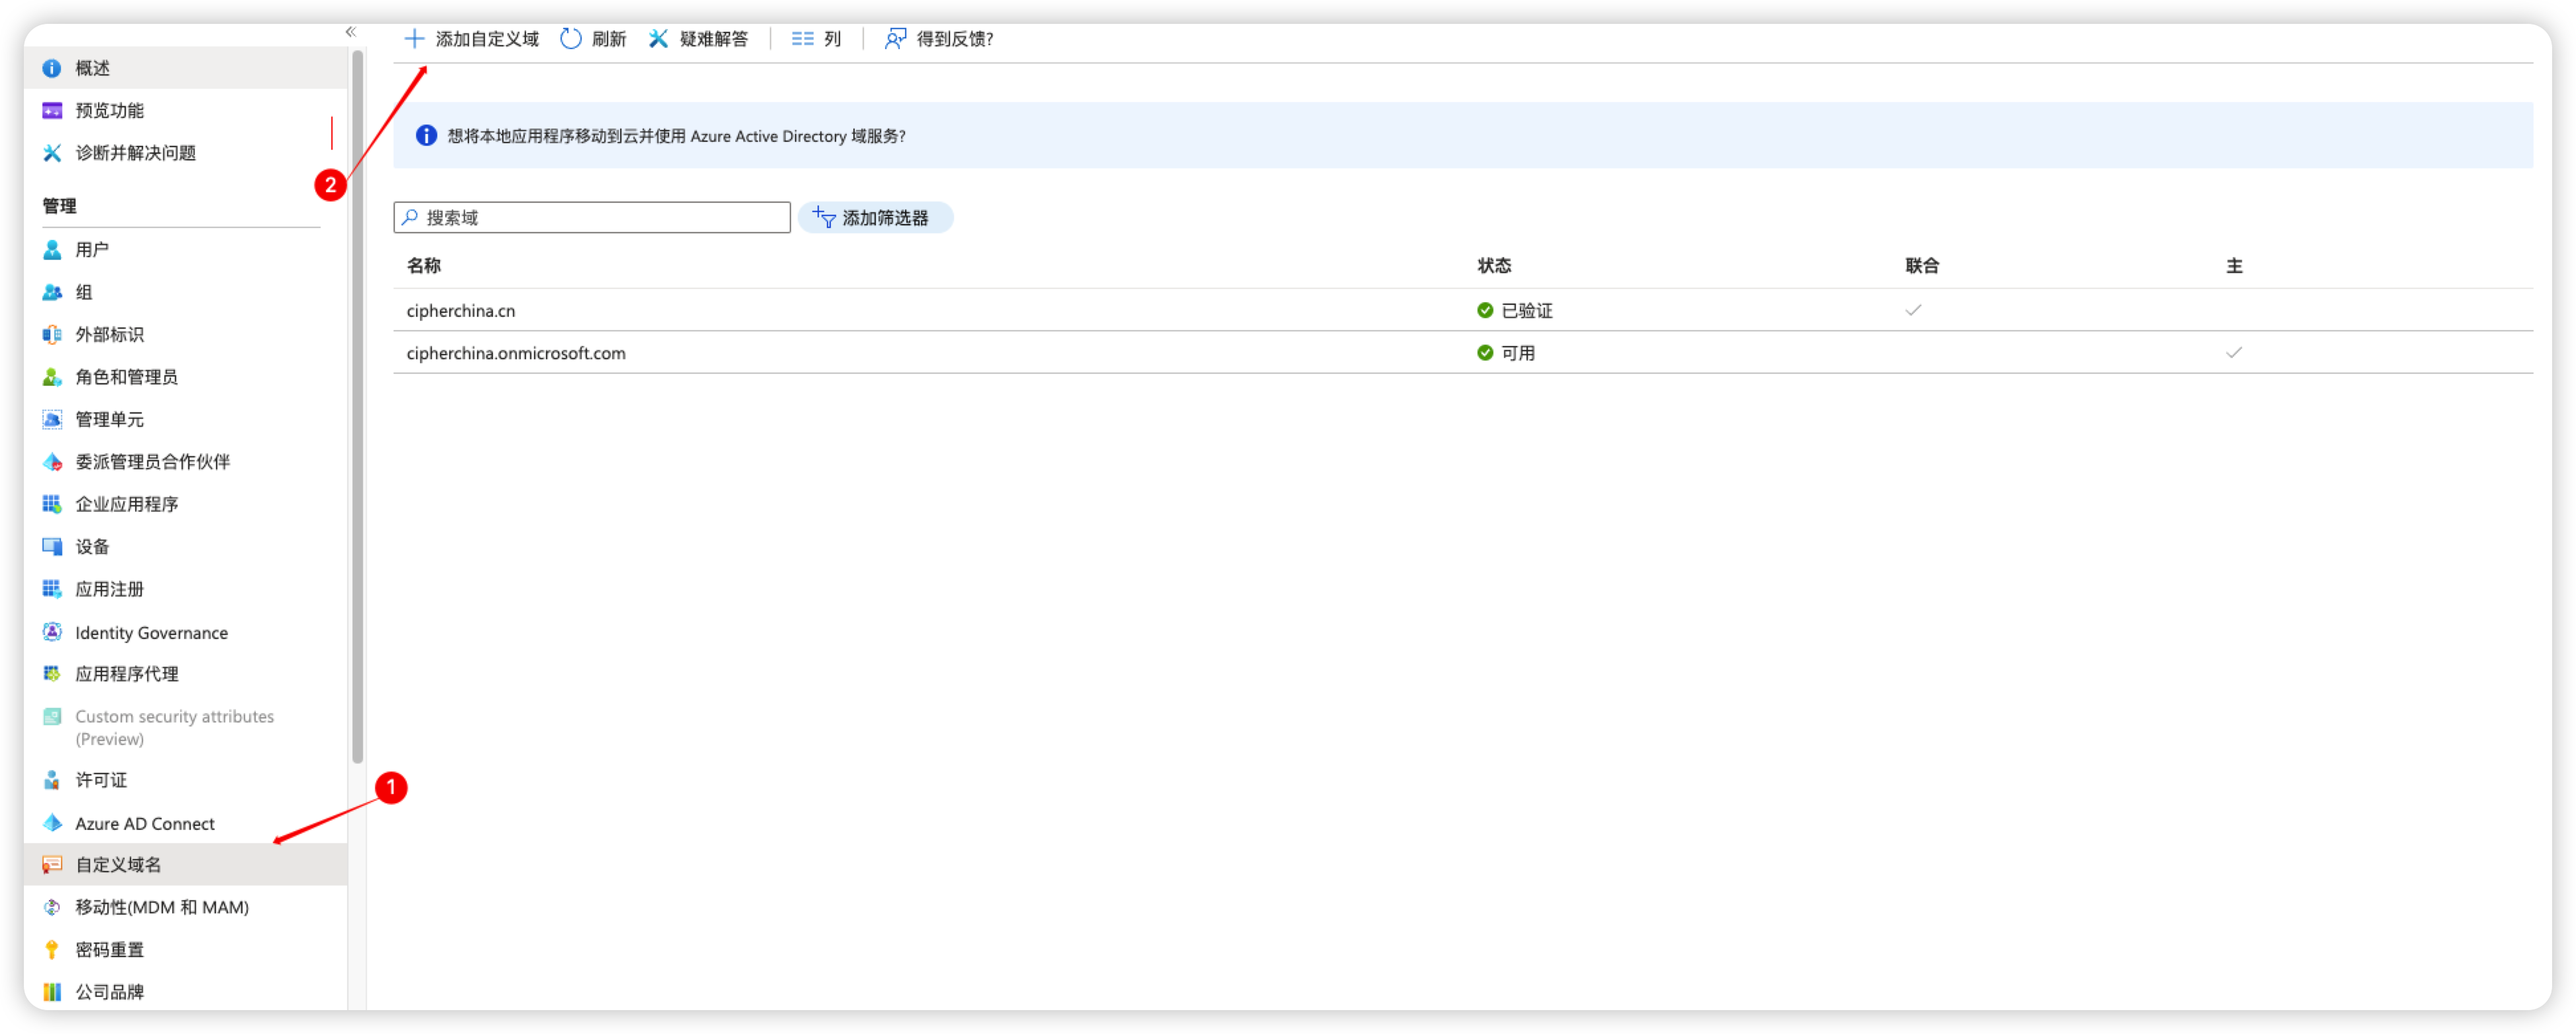
使用管理员登录 https://portal.azure.com/
添加自定义域名,添加后需要通过DNS解析进行验证,验证通过后可继续下一步操作
- 配置AuzureAD的联邦认证
条件:Window操作系统,安装Powershell
- 使用Powershell安装AAD支持模块 Install-Module -Name MSOnline
Install-Module -Name MSOnline
- 建立AAD连接
Connect-MsolService
输入该命令后,会弹出登录框,输入管理员用户名密码
- 填写配置信息
- 打开XAuth应用,找到之前创建的Office365,获取LogonUrl,LogoffUrl,MyURI 和证书签名

- 分别对应的填写以下执行脚本中:其中dom为在AzureAD中添加的自定义域名,BrandName根据需要填写。
$ dom = "cipherchina.cn"
$ BrandName = "XAuth SAML 2.0 IDP"
$ LogOnUrl = "https://cipherchina007.xauth.cloud/saml/login/e1a08d96ca244600937ca77771010c55/sso"
$ LogOffUrl = "https://cipherchina007.xauth.cloud/saml/login/e1a08d96ca244600937ca77771010c55/logout"
$ MyURI = "https://cipherchina007.xauth.cloud/saml/login/e1a08d96ca244600937ca77771010c55"
$ MySigningCert = "**MIIDbD略.....V0w==**"
$ Protocol = "SAMLP"
Set-MsolDomainAuthentication -DomainName $dom -FederationBrandName $BrandName
-Authentication Federated -PassiveLogOnUri $LogOnUrl -SigningCertificate $MySigningCert
-IssuerUri $MyURI -LogOffUri $LogOffUrl -PreferredAuthenticationProtocol $Protocol
- 查看配置是否正确
Get-MsolDomainFederationSettings -DomainName cipherchina.cn
- 如果配置错误,可以取消配置后重新编辑脚本,取消的命令如下
Set-MsolDomainAuthentication -DomainName cipherchina.cn -Authentication Managed
- 创建用户
New-MsolUser -UserPrincipalName demo@cipherchina.cn -ImmutableId 13900012345 -DisplayName "demo"
创建一个用户,用于测试单点登录,其中ImmutableId为唯一标识,这里设置为手机号。
如果是手机号,则需要在XAuth中,配置相应的映射关系。