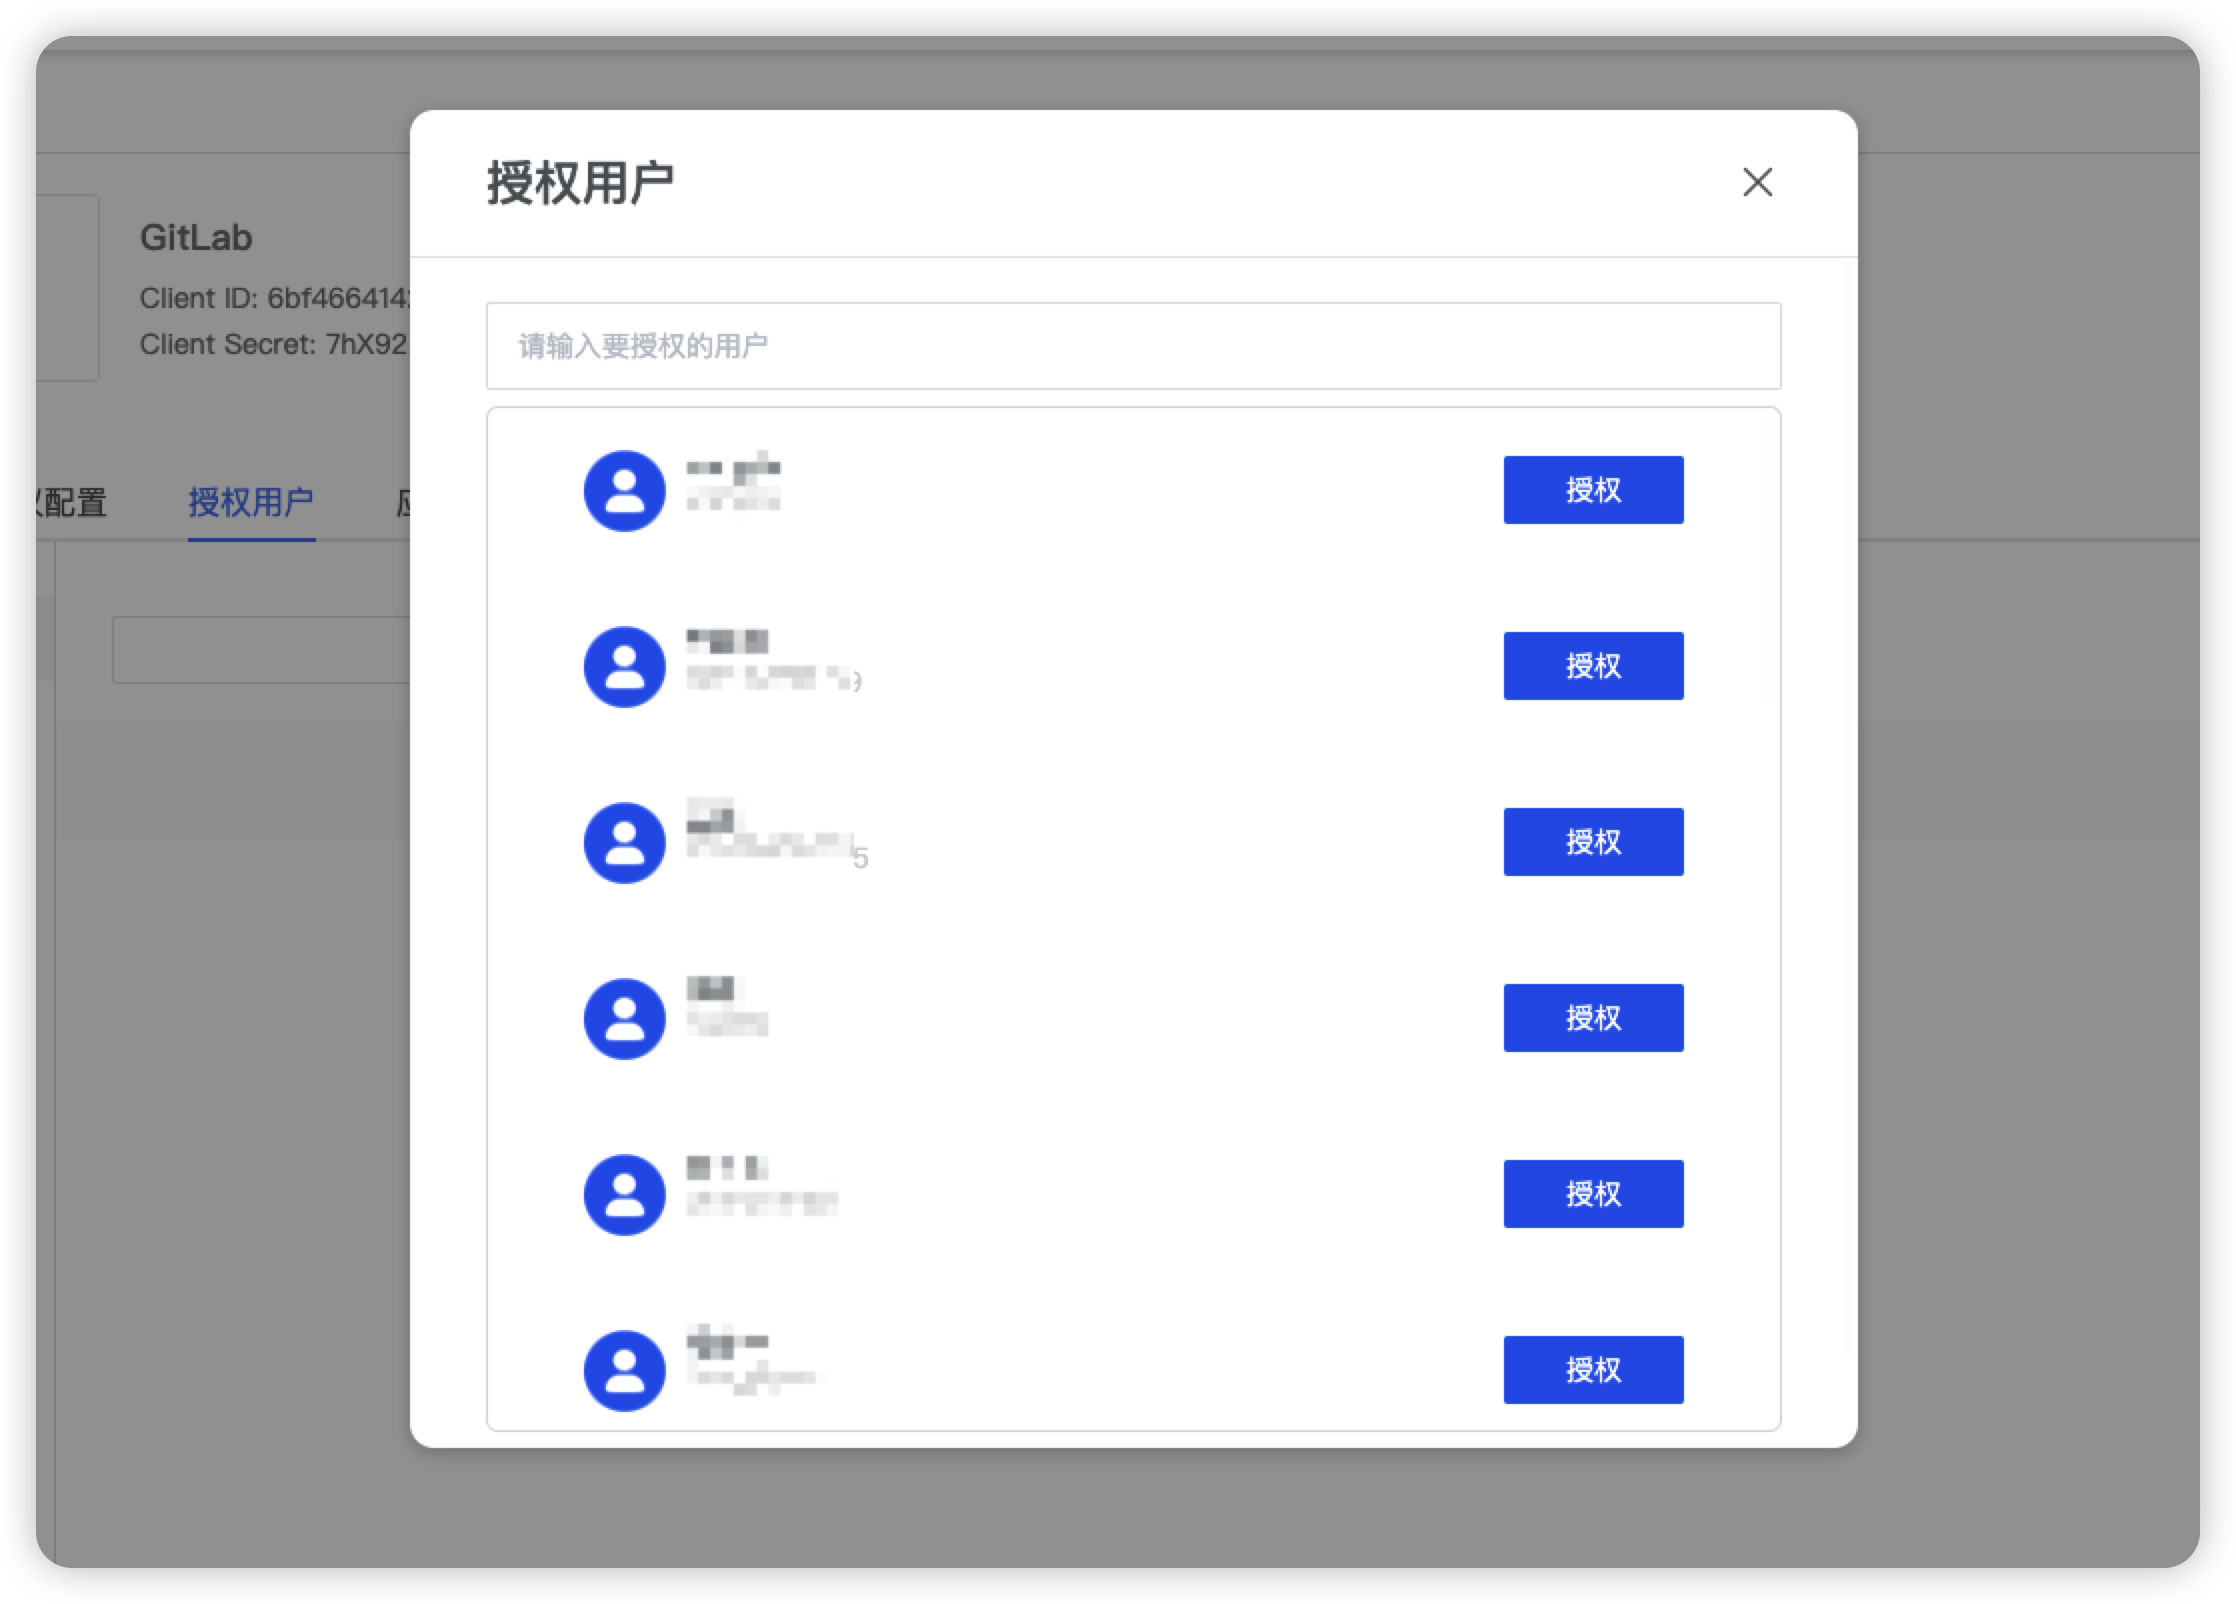
Link Search Menu Expand Document XAuth
文档
使用指南 集成应用 开发者 Menu
Gitlab
market-intro
1
在XAuth中添加应用
从 XAuth 应用市场中添加Gitlab应用
2
在XAuth中授权
授予GitLab的用户访问权限
3
体验登录
在XAuth中体验登录
4
注意事项

授予GitLab的用户访问权限

image

编辑 GitLab 配置文件

注:在示例中,GitLab 使用 docker 安装部署。

vi /etc/gitlab/gitlab.rb
gitlab_rails['omniauth_enabled'] = true;
gitlab_rails['omniauth_allow_single_sign_on'] = true;
gitlab_rails['omniauth_block_auto_created_users'] = false;
gitlab_rails['omniauth_auto_link_user'] = ['openid_connect'] 
# gitlab_rails['omniauth_auto_sign_in_with_provider'] = 'openid_connect';  # 本行被注释,若使用该配置项访问gitlab时将自动跳转到XAuth进行认证

gitlab_rails['omniauth_providers'] = [                                                                                                                    

  {                                                                                                                                                       

    name: "openid_connect",                                                                                                                                

    label: “XAuth login”,                                                                    

    icon: "[https://docs.gitlab.com/assets/images/gitlab-logo.svg](https://docs.gitlab.com/assets/images/gitlab-logo.svg)",                                                                                        

    args: {                                                                                                                                                

      name: "openid_connect",                                                                                                                              

      scope: ["openid","profile","email"],                                                                                                                 

      response_type: "code",                                                                                                                               

      issuer: "https://<your-Subdomain>.xauth.cloud/oauth/v1", # 填写在XAuth注册的租户域名                                                                                                

      discovery: true,                                                                                                                                     

      client_auth_method: "query",                                                                                                                         

      uid_field: "sub",                                                                                                                                    

      send_scope_to_token_endpoint: "false",                                                                                                               

      client_options: {                                                                                                                                    

        identifier: “<client_id>”, #client_id 从XAuth管理后台的应用详情页面获取                                                                                        

        secret: “<client_secret>”,  #client_secret 从XAuth管理后台的应用详情页面获取                                                                                     

        redirect_uri: "http://<Gitlab-URL>/users/auth/openid_connect/callback"                                                                             

        }                                                                                                                                                  

      }                                                                                                                                                    

  }                                                                                                                                                       

  ]  
gitlab-ctl reconfigure
返回列表
上一步下一步